- Clear Totals: Provide a Subtotal, add any applicable Tax, and show a clear TOTAL.
- Payment Terms: It is a best practice to add your payment terms (e.g., “Payment due upon receipt”) as a line item in the DESCRIPTION field.
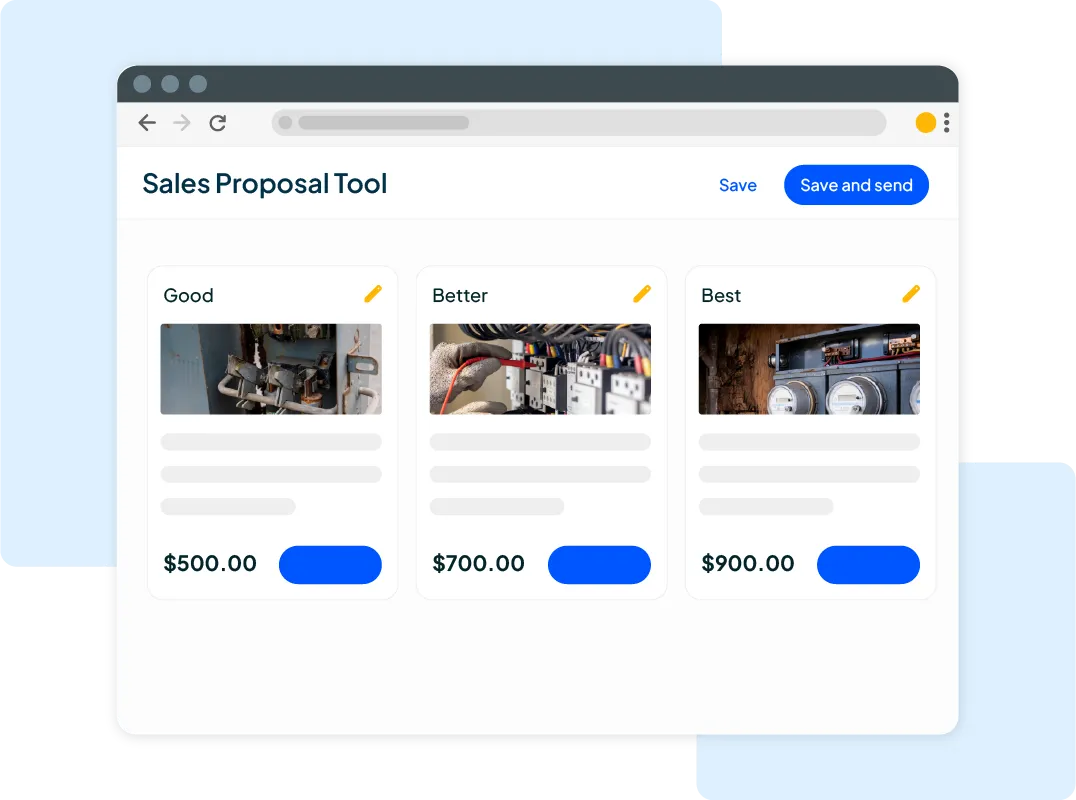
A Step-by-Step Guide to Your Free Invoice Template
Our Google Sheet invoice template is designed to be comprehensive and simple to use. Follow these steps to create a professional invoice for your next client. For your convenience, a copy of these instructions is also included on the ‘Instructions’ tab within the Google Sheet itself.
Important First Step: Make a Copy of the Template Before you begin, you must save a copy of the Google Sheet to your own Google Drive. The original template you receive is view-only, ensuring every user gets a clean version. To make your own editable copy:
- Open the Google Sheet.
- Go to the File menu in the top-left corner.
- Select Make a copy. Your new, editable version will open, and you can now follow the steps below.
Step 1: Customize with Your Business Information Open your copied Google Sheet and go to the “Company & Customer Information” tab. Replace the placeholder logo and enter your company’s name, address, and contact details. Save this version as your master template.
Step 2: Enter Client and Job Details For each new job, fill in the client’s information in the same tab. Assign a unique Invoice # and set the Date.
Step 3: Detail the Service and Costs Move to the “Invoice Details” tab. In the ITEMIZED CHARGES table, create a new row for every labor charge and every part used, filling in the DESCRIPTION, QTY, and UNIT PRICE for each.
Step 4: Finalize the Totals At the bottom of the “Invoice Details” tab, enter your local Tax Rate (%). The template will automatically calculate the Tax and the final TOTAL amount due.