- Payment Method: Note how the payment was made (e.g., Cash, credit card, etc.).
A Step-by-Step Guide to Your Free Electrical Receipt Template
Our Google Sheet receipt template is designed for ease of use. Follow these steps to create a professional proof of payment in minutes. For your convenience, a copy of these instructions is also included on the ‘Instructions’ tab within the Google Sheet itself.
Important First Step: Make a Copy of the Template Before you begin, you must save a copy of the Google Sheet to your own Google Drive. The original template you receive is view-only. To make your own editable copy:
- Open the Google Sheet.
- Go to the File menu in the top-left corner.
- Select Make a copy. Your new, editable version will open, and you can now follow the steps below.
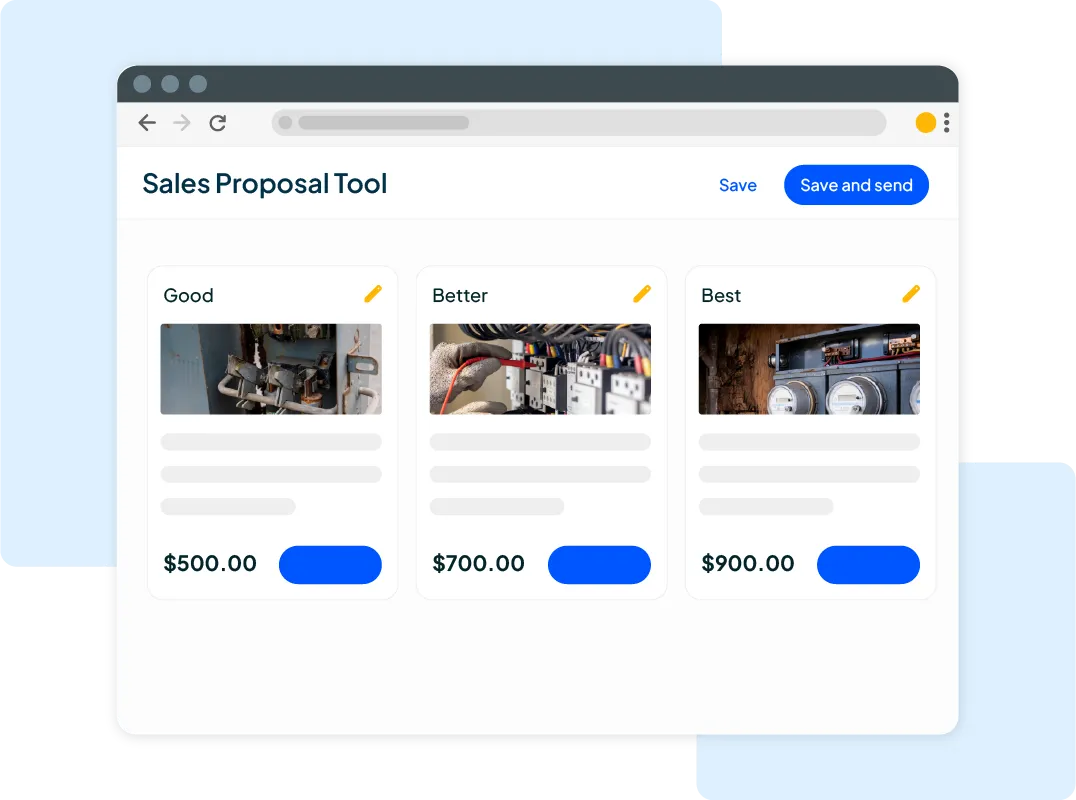
Step 1: Customize with Your Business Information Open your copied Google Sheet and go to the “Input Details” tab. Replace the placeholder logo and enter your company’s name, address, and contact information. Save this version as your master template.
Step 2: Enter Client and Job Details For each new receipt, fill in the client’s information in the “Input Details” tab. Assign a unique Receipt ID and the technician who Performed by.
Step 3: Detail the Services Provided Move to the “Electrical Receipt” tab. In the itemized table, create a new row for each service or part. Select the Service type, add a Description, and fill in the Quantity / Hours and Unit Price / Rate.
Step 4: Confirm the Payment Details In the “Electrical Receipt” tab, enter your local Tax %. The template will calculate the Total Amount due. In the Amount Paid field, enter the amount the customer paid. Finally, select the Payment Method from the dropdown menu.
Step 5: Save and Send the Receipt Review the “Printable Report-Summary” tab to see the finished, professional receipt. To send it, go to “File” > “Download” and select “PDF Document (.pdf)“. A PDF is a secure, non-editable format that you can easily attach to an email for your customer’s records.